DIY–Tulip Wreath
Justin was getting annoyed with the lack of effort on my part to finish putting away the holiday decorations–I considered them “winter” decorations and spring only began two weeks ago! But we did need something fresh an new on the door so I did what I always do, went to Pinterest. I really wanted something bright and fun & was loving these…
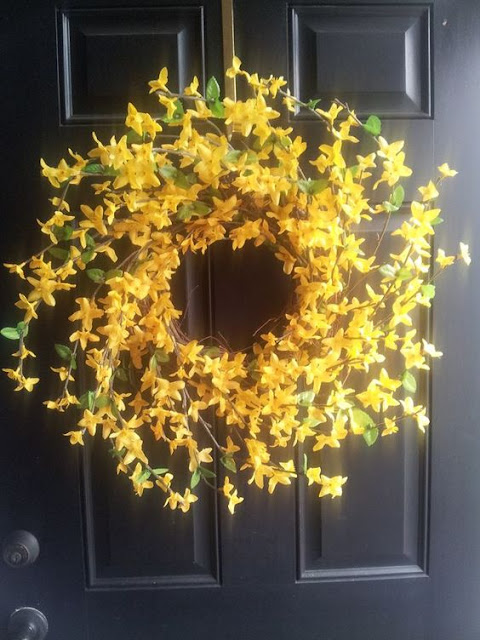
but I have seen them on just about every street that I drive down. I wanted something a little different so I kept culling through all the ideas until I ran across some tulip wreaths. Who doesn’t love tulips? And multiple colors of tulips like this one. Yes, please.

So I followed her tutorial. I stopped at Hobby Lobby and bought the branch wreath for like $5, the greenery garland at $12.99 with 50% off and then the tulips which I should have waited for them to be on sale but I didn’t. I bought 8-10 bunches, 4-5 in red and 4-5 in white. Again, wait till they are 50%, would have made this project much cheaper, by like $25-$30 cheaper.
Now, I knew mine wouldn’t end up looking like hers, I mean, that just looks picture perfect and anything you do never really looks like the inspiration. But I was okay with that because I could tweak mine over time and figured I could still come out with something that I was happy to hang.
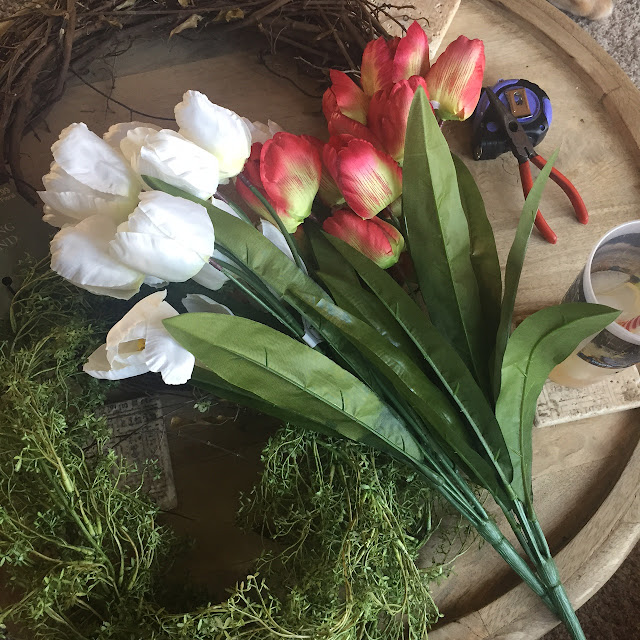
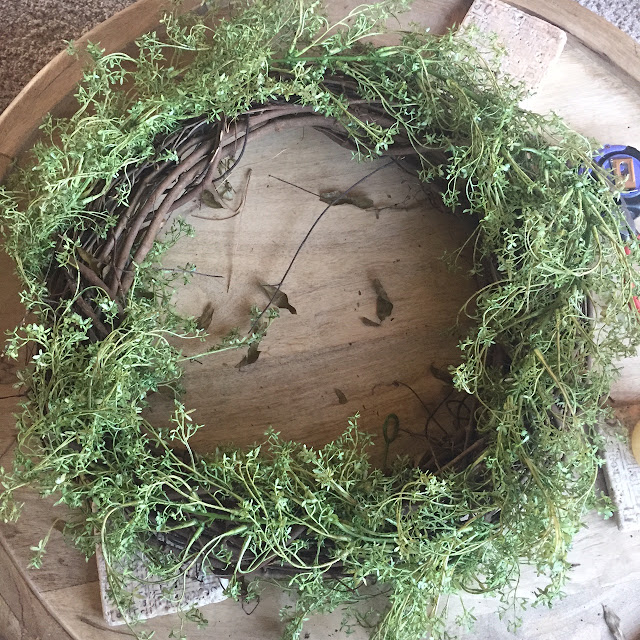
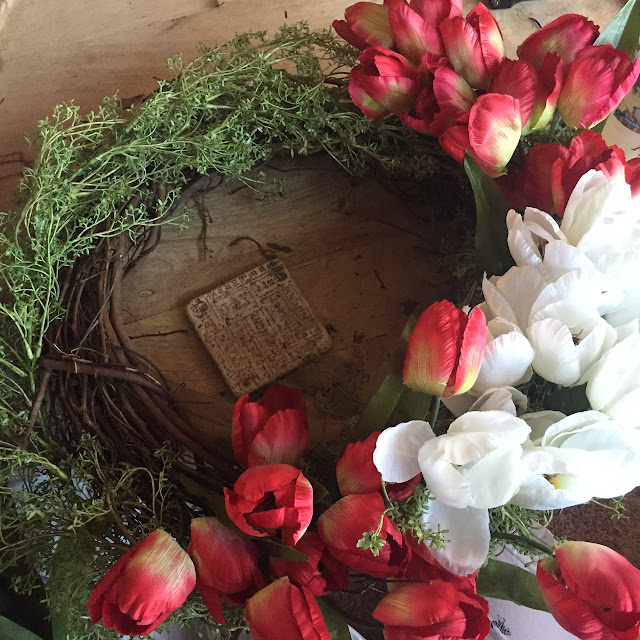
I started out first by ensuring that I had a RBV–this is one of my must haves when projecting, it helps me work better. Next step was to wrap the greenery garland around the wreath. I had hoped that the garland would have a few small white or yellow flowers on it but I wasn’t able to find what I was looking for so I just went with all green. I literally wrapped it around once and then tucked it into the branches to keep it in place, no tying necessary.
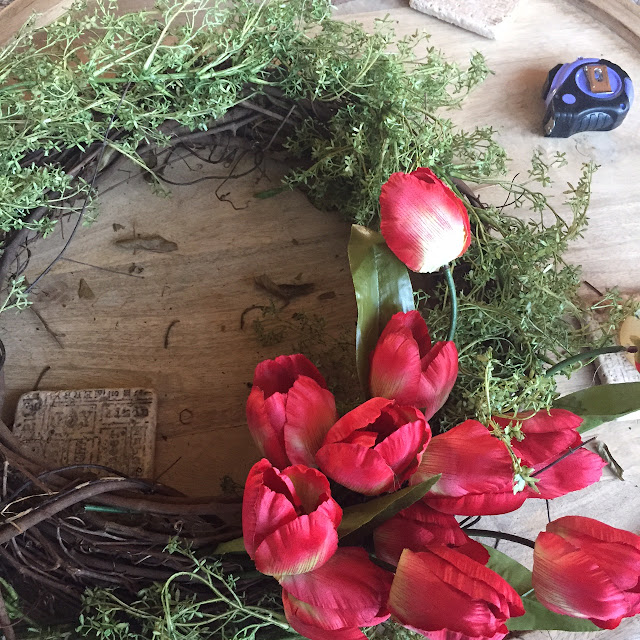
I then used some wire cutters to cut the tulips down to size. The tutorial suggested 10 inches or so, I roughly did that but certainly didn’t measure. Some I cut shorter, some I kept longer with the leaves. After having disassembled each tulip bunch I started putting them on the wreath.
I basically took a tulip stem and shoved it through the twigs so the stem came out the backside of the wreath. At that point I just tucked the rest of the stem in someplace on the backside to secure it in place. I worked from the bottom up the left side and then from the bottom up the right side, trying to ensure that the tulips faced a little more inward than outward.
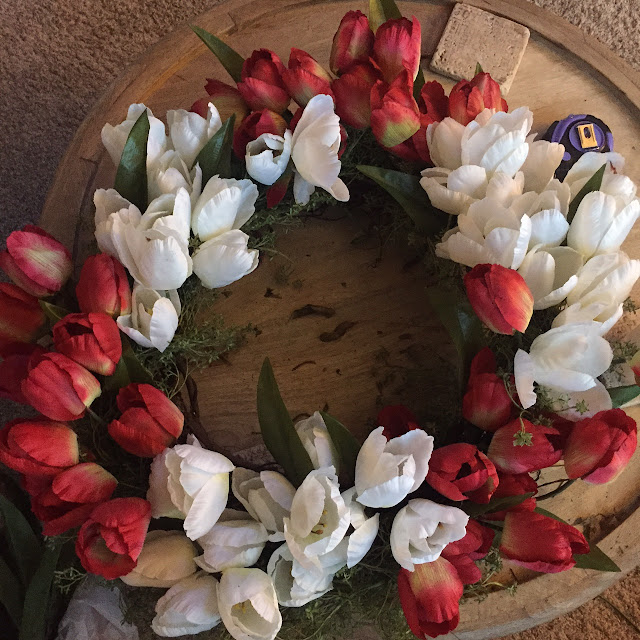
At this point, I thought it was huge and I only used an 18 inch wreath, she recommended a 20 inch or even 22 inch wreath but I was happy I went with the 18 inch one. I hung it on the door, moved a few tulips around and then added our “S” for South to the middle. I literally just hung the S from the hook with the wreath, I just made sure that the length was right. This way, the S isn’t attached and I can easily remove it and add something new if I would like. To hang the wreath I took some burlap that I had on hand, folded it in half and then tied it around the wreath–simple. I might need something more like a bow but it will work for now.
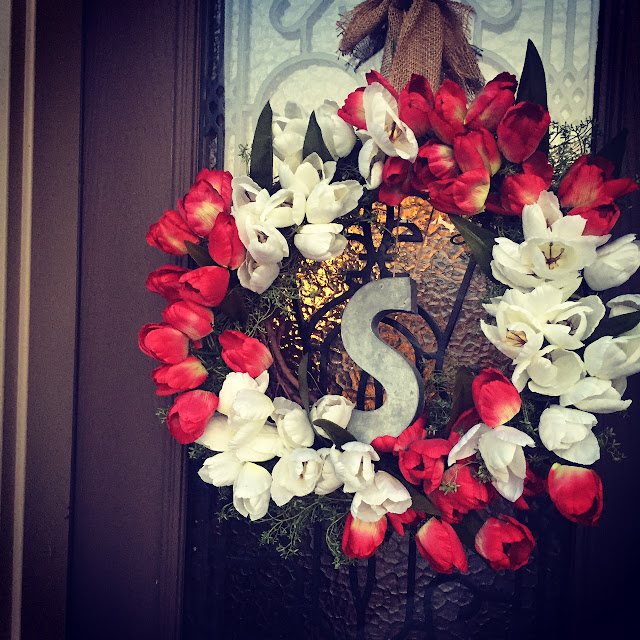
Like I said, a few tweaks will need to be made but it has certainly brightened up our space a little. Now we just need to wait for the nice spring weather to come so we can add our planters filled with flowers to the front porch—my favorite thing about spring. Well, besides the endless nights outside playing with the boys.
