
Knockoff RH Shelves
I have been wanting to tackle this specific project for multiple months now–maybe a year but with the weather being a tad chilly I just kept pushing it off. Well, that luckily changed a few weekends back and with a beautiful weekend forecast ahead of us I headed to Home Depot and took my shopping list with me.
First for the inspiration–everyone knows I am a fan of Pinterest & I have wanted shelves for our master bathroom for awhile but I wanted something a little more than just the ordinary floating shelves from any you name it store. We have these already in our main level bathroom and I just wanted something different. And I found this picture of shelves from Restoration Hardware the problem, the price tag…$195.00 for the shelf plus $55.00 for a bracket, for a total of $250.
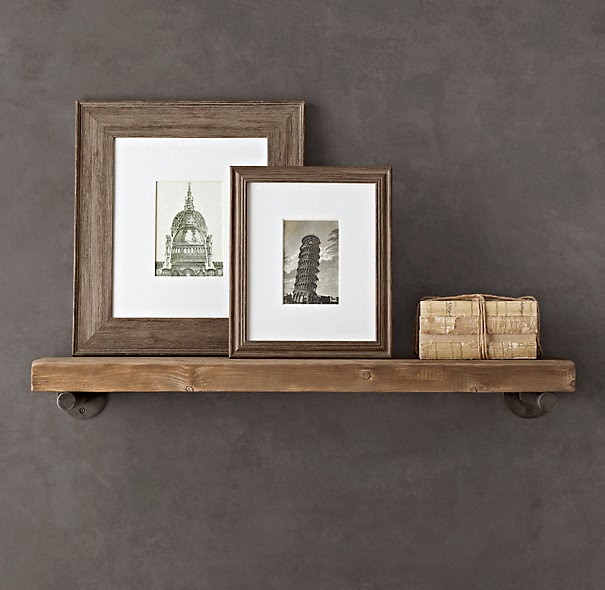
That $255.00 is just for ONE shelve and ONE bracket. So in total it would have been $965 for 3 shelves and 6 brackets—NOT GOING TO HAPPEN. EVER.
So I went back to Pinterest and found this version from 7th House on the Left & basically they had found the same image and had done all the work for me. The best news–at a FRACTION of the cost. All in (and that is buying another can of stain since I couldn’t find our one at home) I spent about $125.00 which covers all 3 shelves and 6 brackets. This blog has a wonderful tutorial, I’ll give you the Kayla South version but for more step by step details–check her post out–very detailed.
Now back to my attempt at the project.
The wonderful thing about Home Depot, if you ask nicely, they’ll make the cuts for you in the store which is great for two reasons. One-I don’t have a saw which means I would have to ask for another favor from my BIL and although he would do it, I hate asking him to do too much and I already knew he would have to help me hang them–but more on that later. & two, all the pieces would easily fit in the car–how would I manage getting a 20 foot board home?
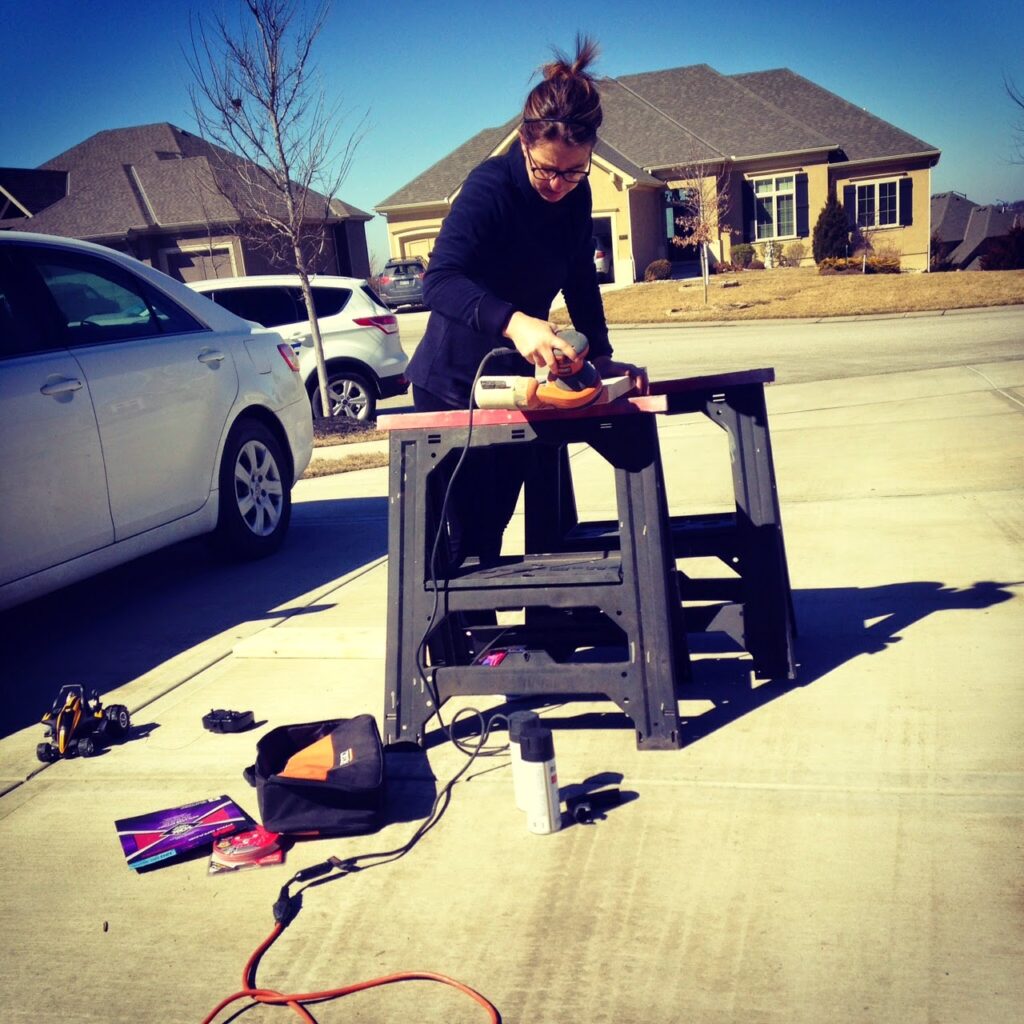
The following morning, after gymnastics and after playing for awhile with the boys, I got to work and started sanding away. I rounded each of the corners and made sure that the board was super smooth, didn’t want any rough spots.
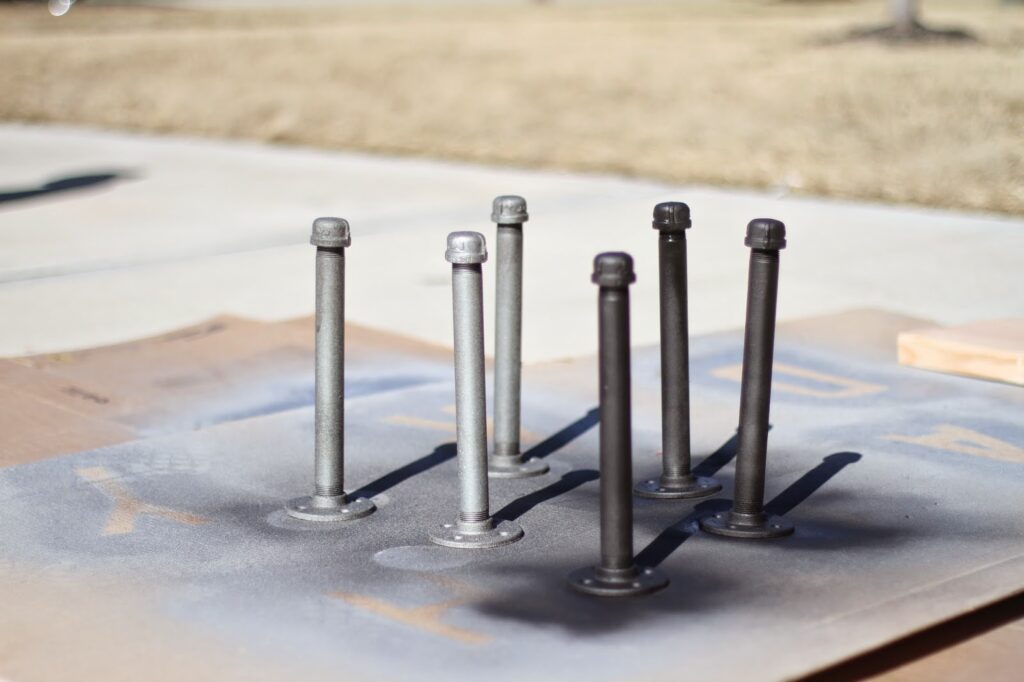
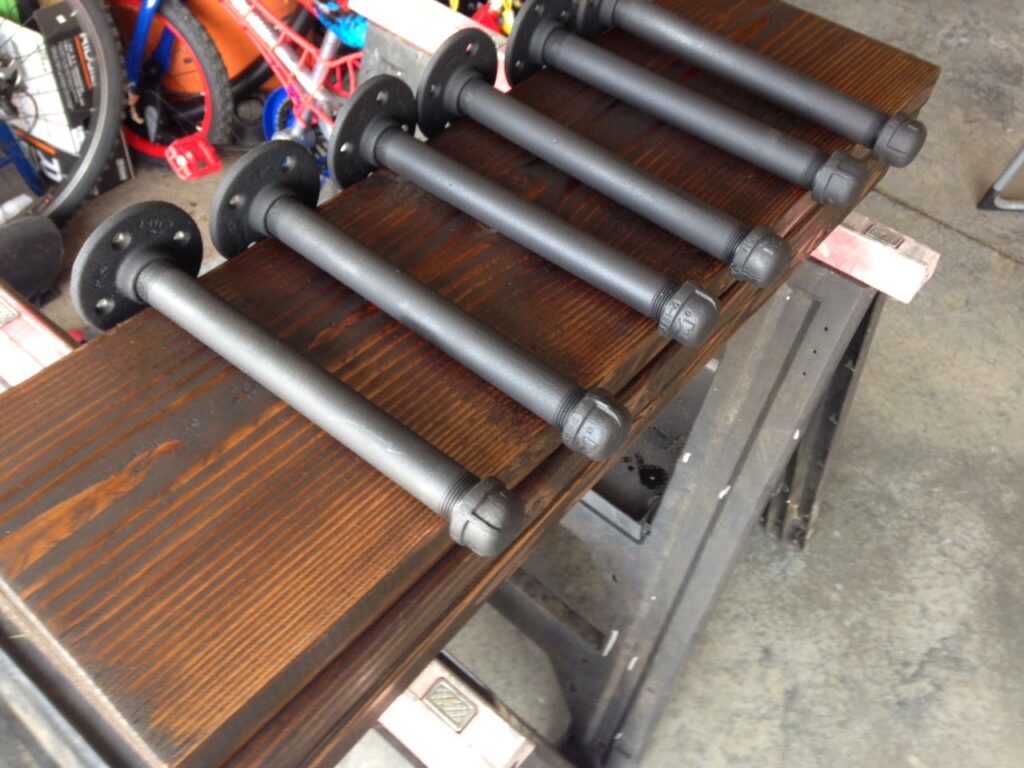
After sanding the boards I put together the brackets. The brackets are simply galvanized pipes–a floor mount, a 10 inch pipe and then an end cap. After putting together the pieces I stood them up on some cardboard and pulled out the spray paint. The tutorial used two types of spray paint so of course I used the same two types.
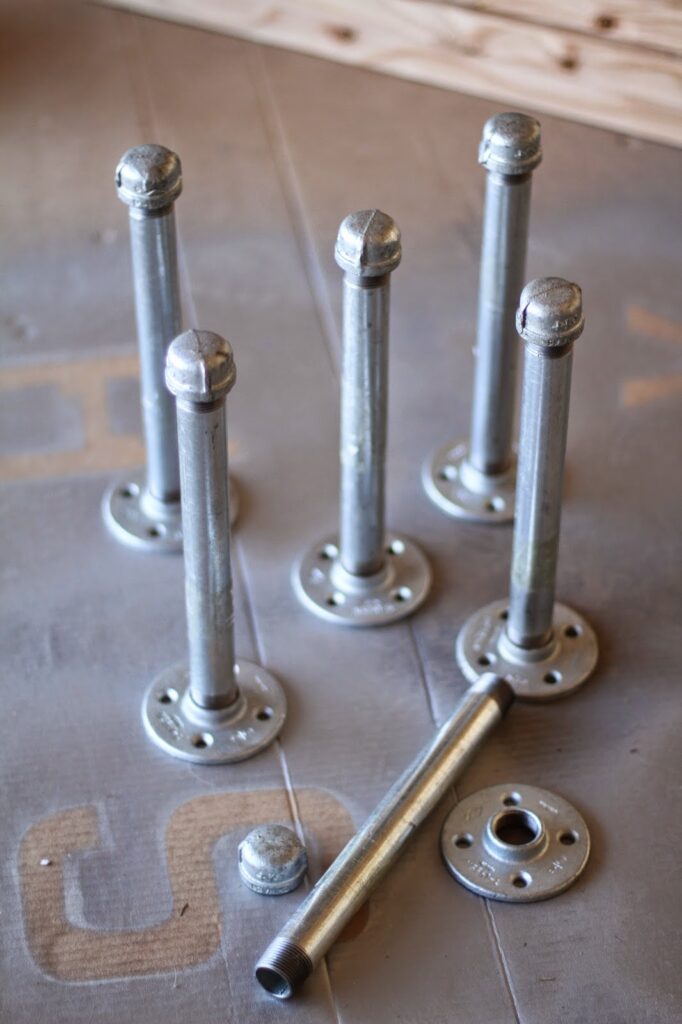
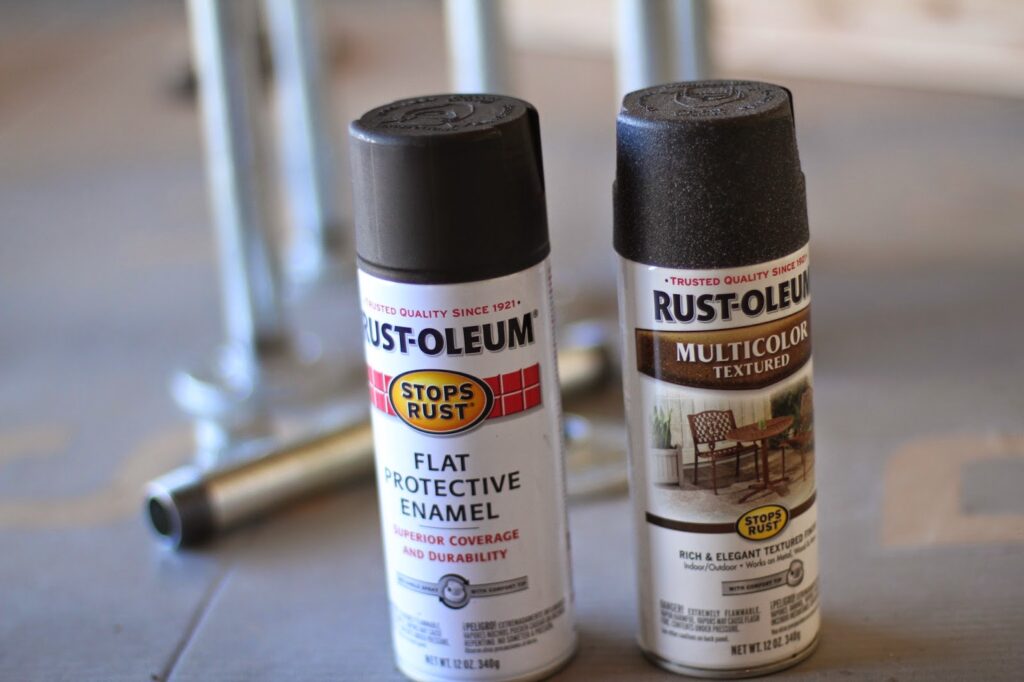
The first is to add a little more texture to the pipe and the second is the matte black finish. I did a couple coats of the textured spray paint and then about three coats of the matte black finish.
The tutorial doesn’t really talk about what they used to hang the brackets but I used wall screws that fit the galvanized wall mount and then bought anchor screws as well. This is where my BIL came in–he did the actual mounting of the shelves as I was not about to attempt to put 24 holes into my wall, no way I would have gotten half of them right and probably would have ended up with about 48 holes in my wall and a much larger project on hand.
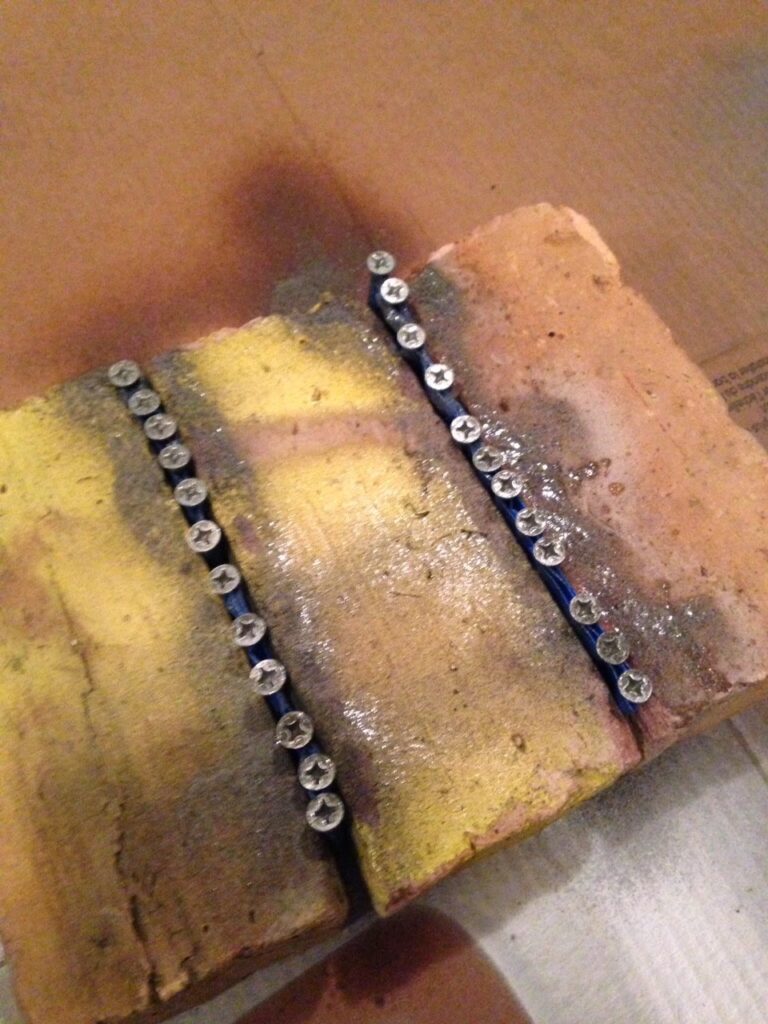
And since I wanted to ensure the head of the screws had the same finish as the brackets themselves, I decided to paint them the same way. I taped up the screws so that the only thing showing was the head of the screw, placed them between a few bricks to hold them in place and started spraying.
In between coats of spray paint I stained the shelves. I chose a dark walnut finish and the can you see here is actually my third can. The first can is lost in our garage some place–not surprising. The second can I dropped at the checkout line at Home Depot. I was using the self-checkout and the attendant was over talking to me about the project and as I went to place the stain my bag it slipped out, hit the floor and busted-EVERYWHERE. I was mortified. I felt so horrible and just kept saying sorry but the lady was so nice and said it happens all the time, which I knew wasn’t true but she made me feel so much better. She sent me back to get another can and when I asked to pay for the second can she insisted that they would take care of it and told me to go on and enjoy my project. Seriously, nicest lady I have met in a long time.
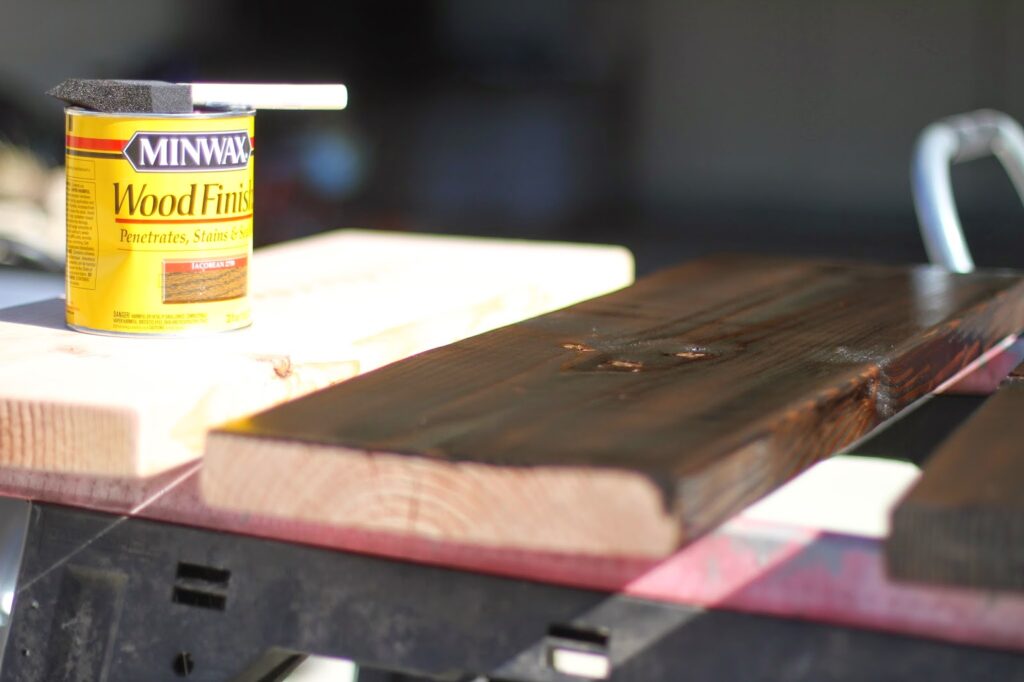
To apply the stain I used a sponge brush and allowed it to sit for about 10-15 minutes, really working in the stain on the wood knots, wanted to make sure they showed up well. After 10-15 minutes I took a cloth and wiped it all off and then left it to dry for a few hours in the shade.
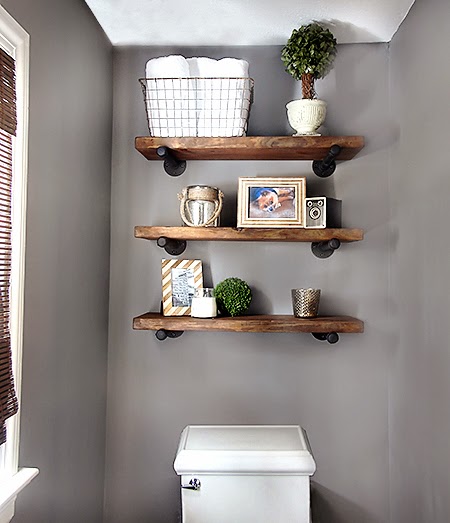
After drying I flipped it over and repeated the process on the other side. And that was it. The shelves were finished and all that was left was to talk my BIL into hanging them for me. Luckily, he was in a really great mood when I asked! He hung them while he was at the house working on the deck and I really couldn’t be happier with how they turned out. I think I like them even better than the RH version even if I could have gotten them for $125 all in.
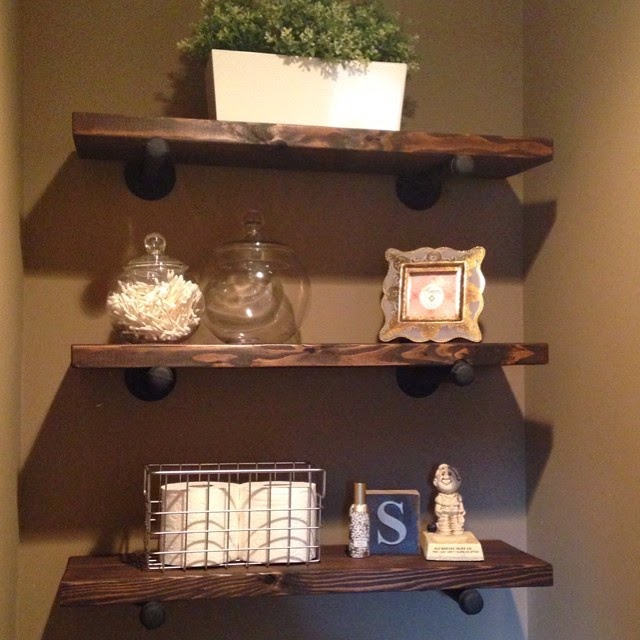
And thanks to TJMax, I picked up a few accessories to finish it out.